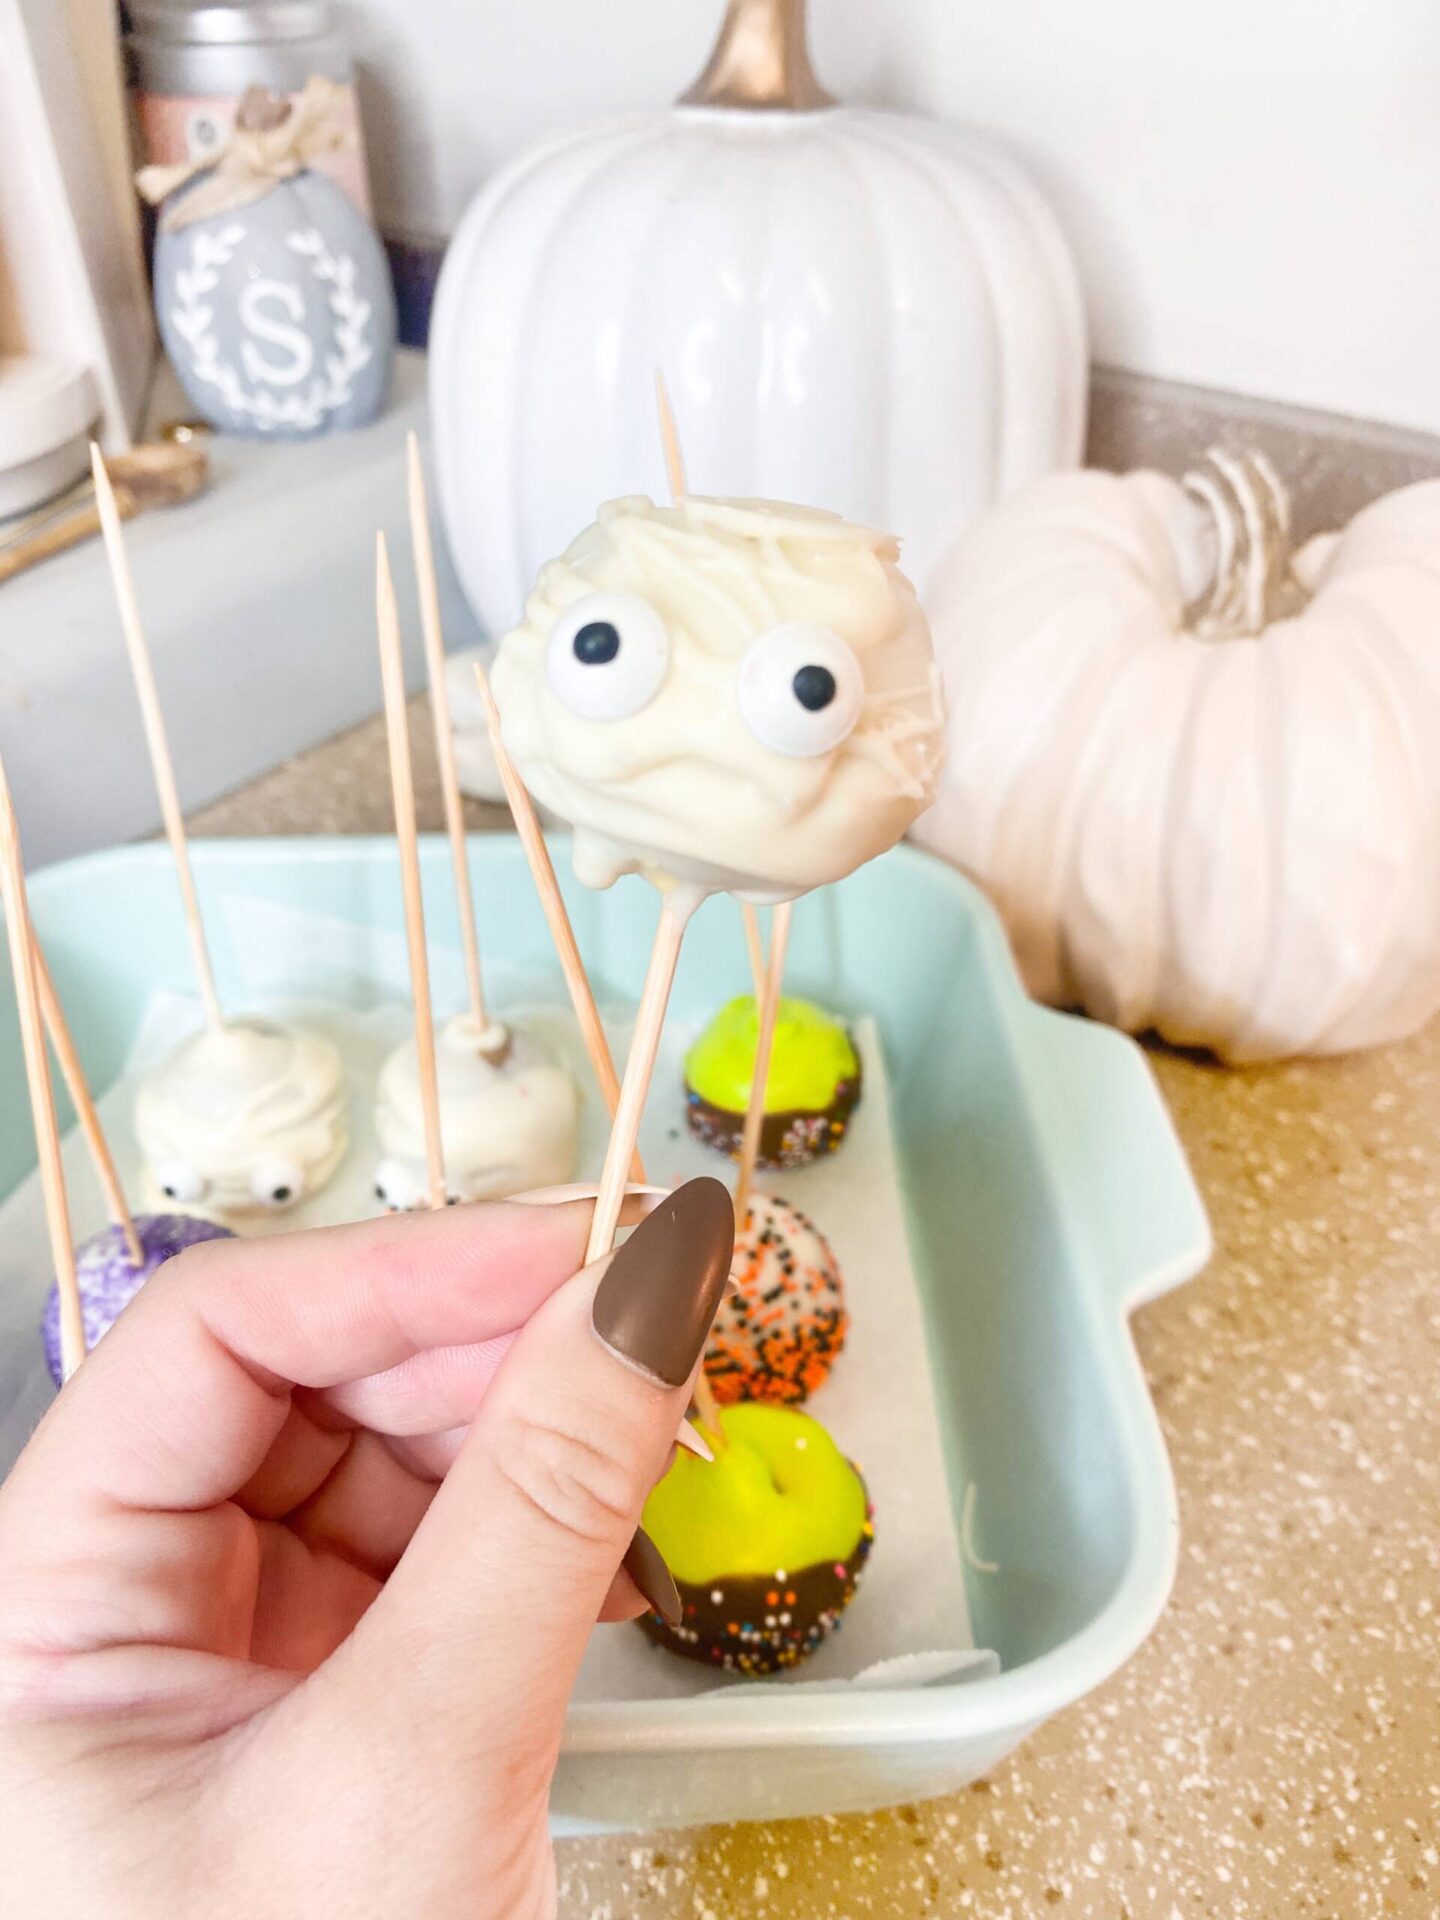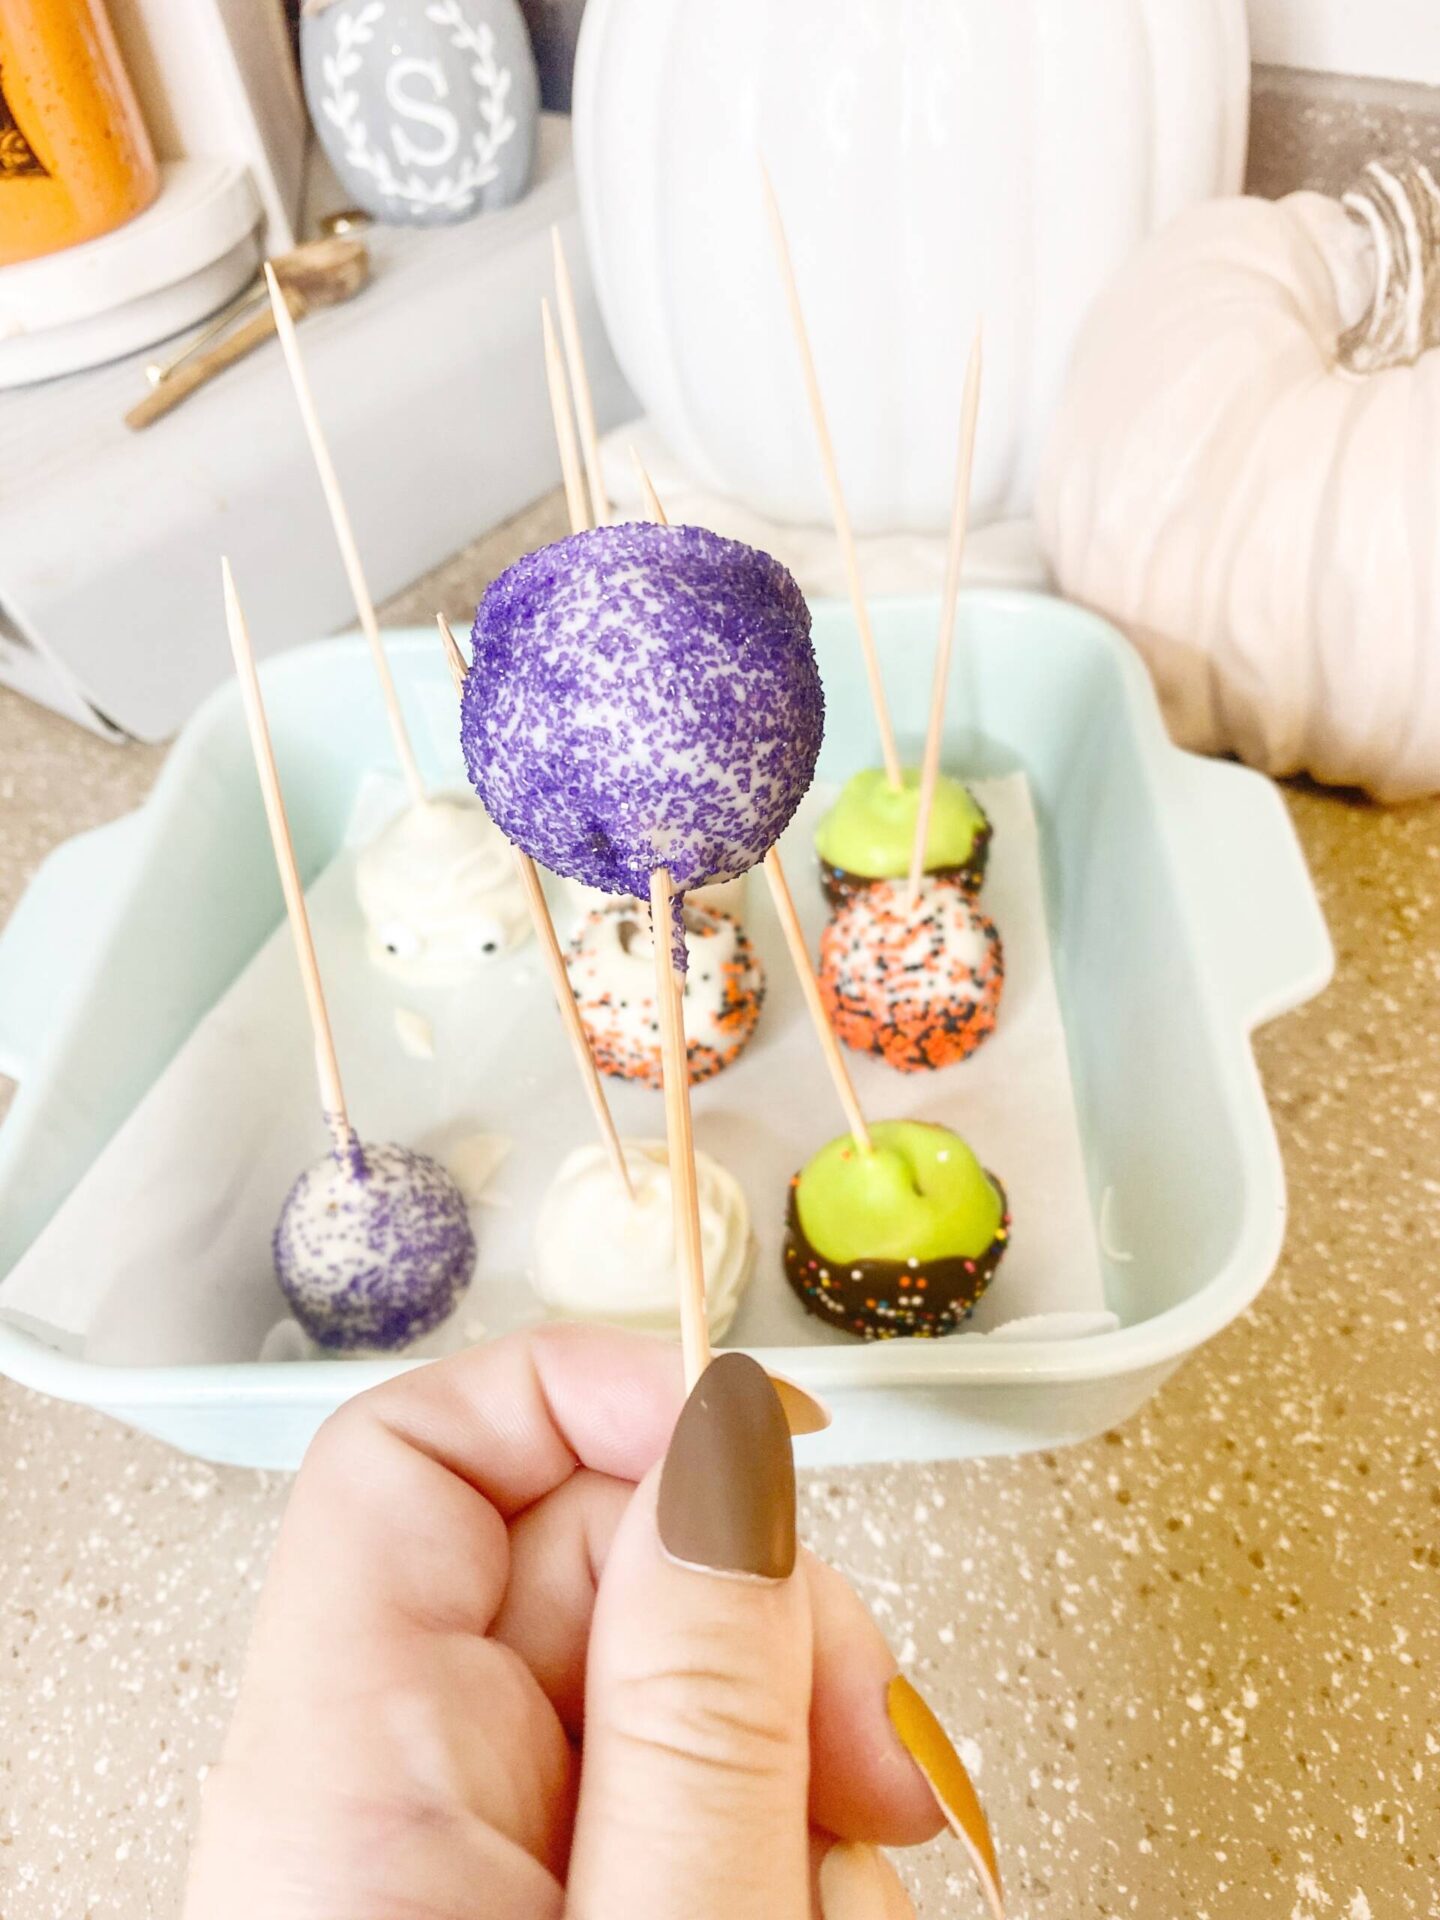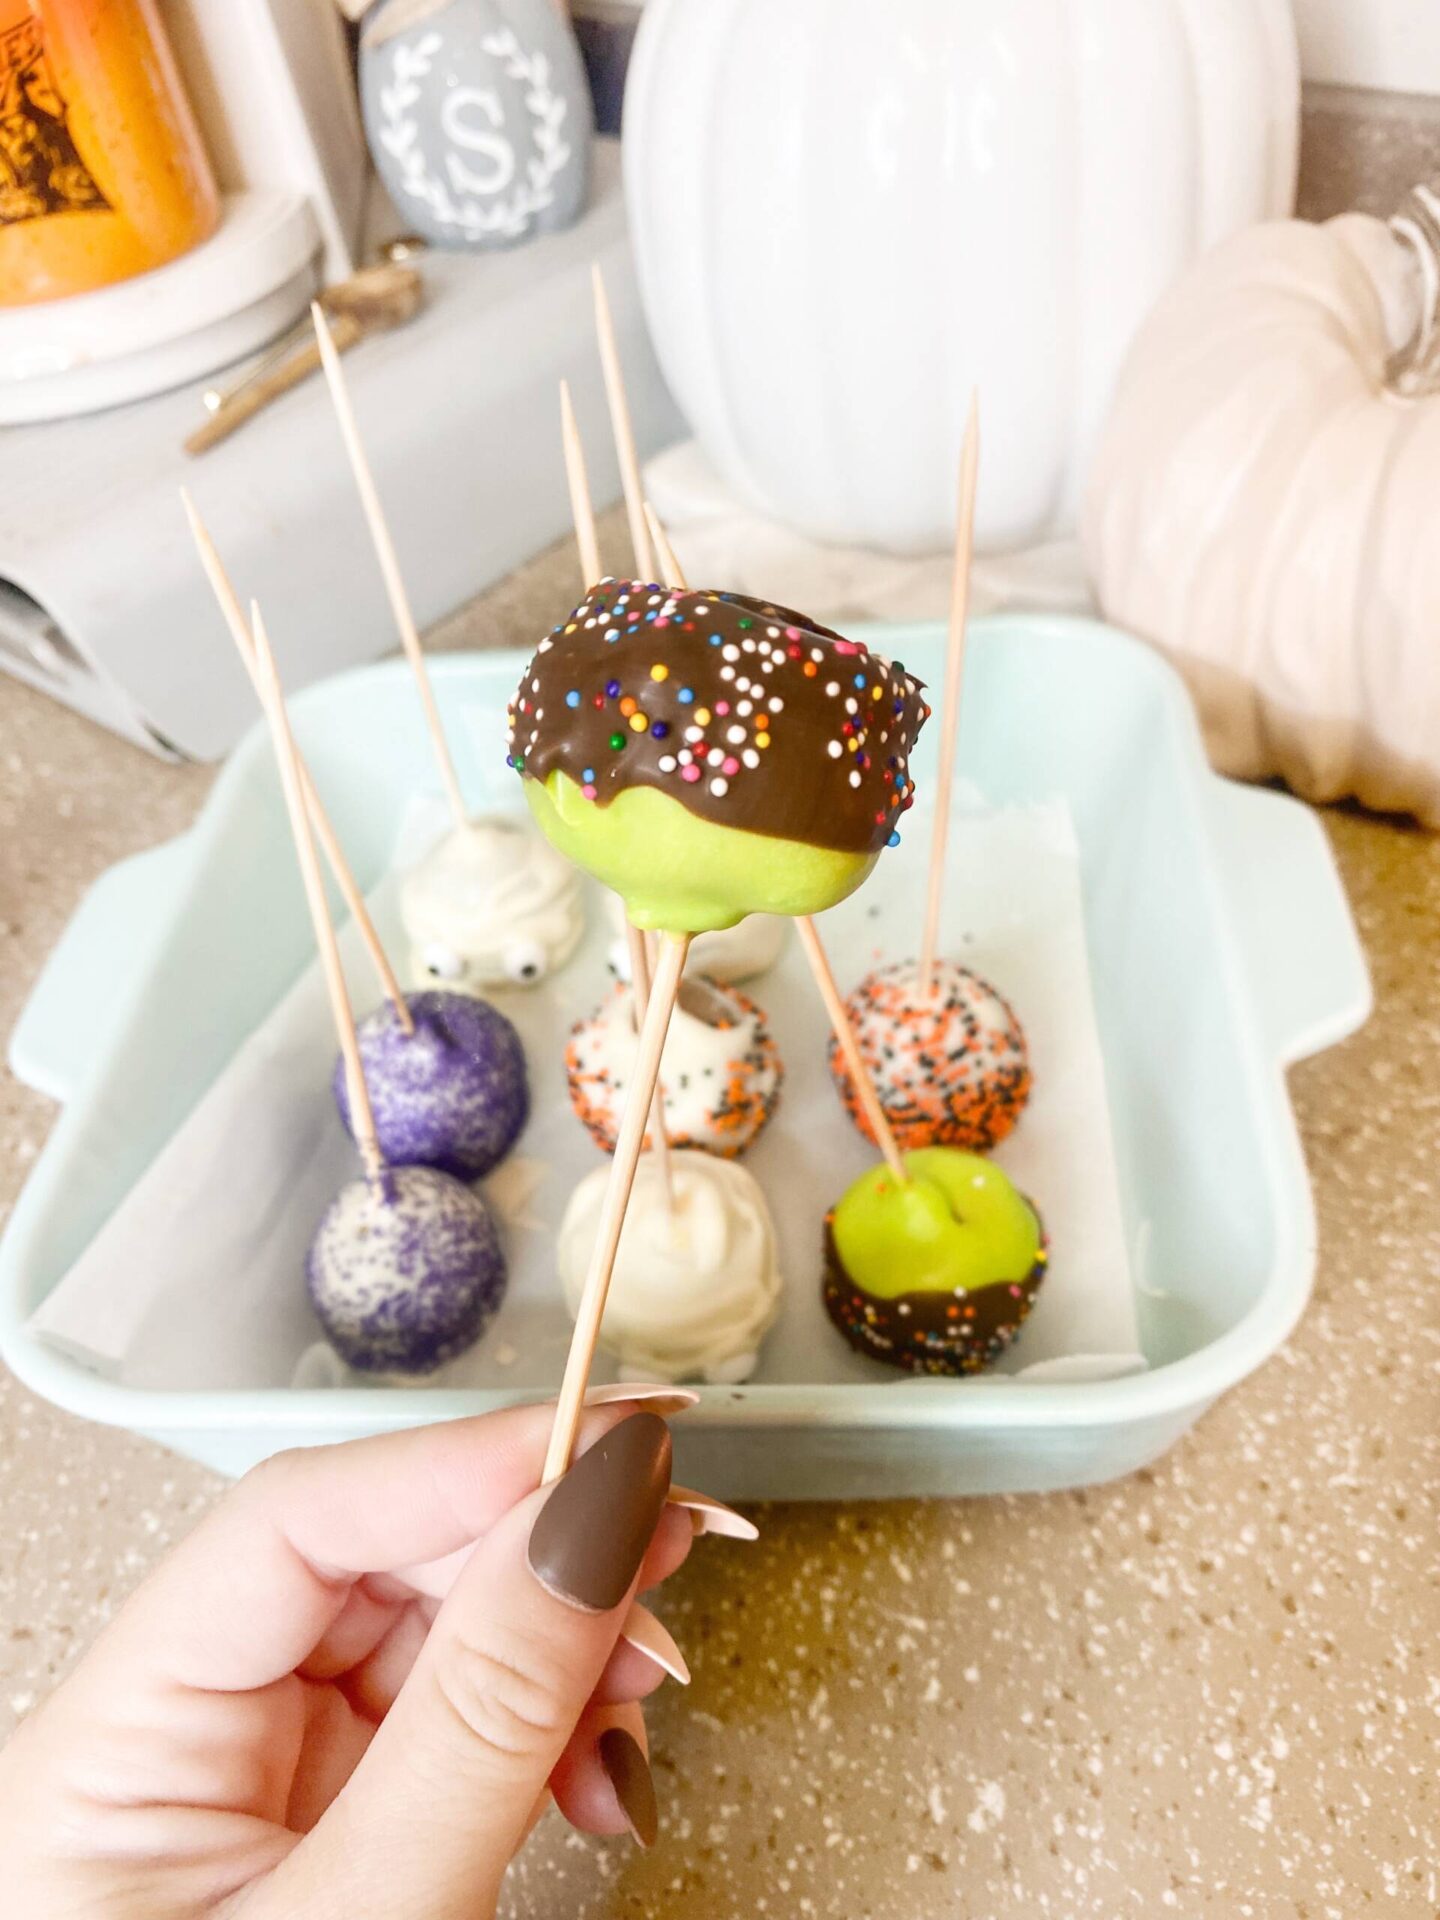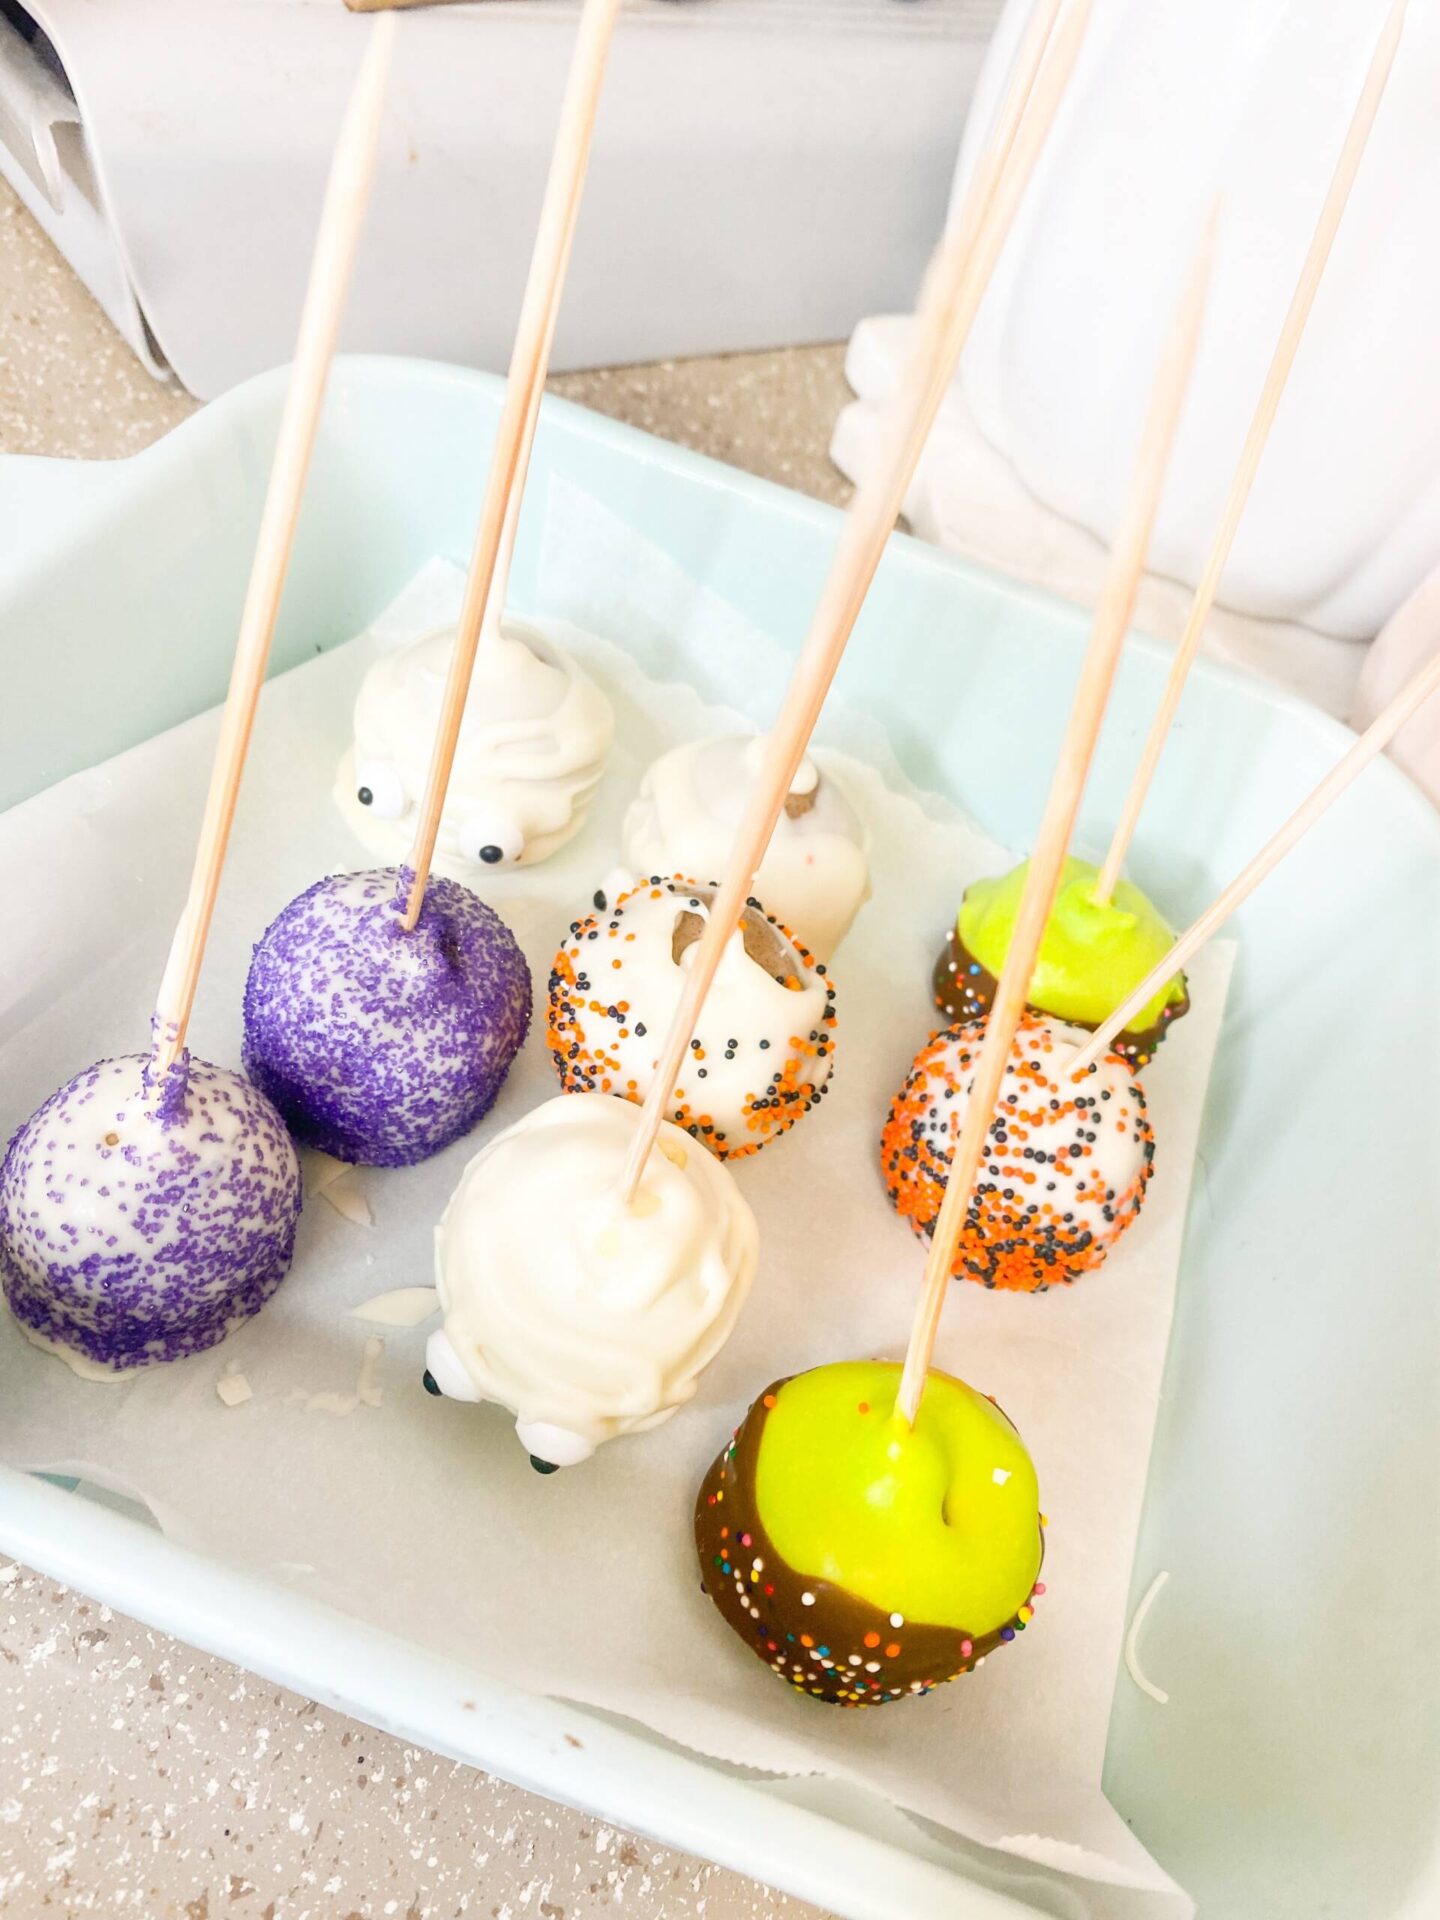
This was my first time ever making cake pops and although they didn’t turn out perfect, I think they turned out pretty good for a first-timer. I was always intimidated to make cake pops because I felt like they were super difficult to make. They’re actually super easy once you get the hang of it and a lot of fun- not to mention SO yummy!! I put together this easy step-by-step guide to making Halloween cake pops for beginners. Enjoy!
Ingredients:
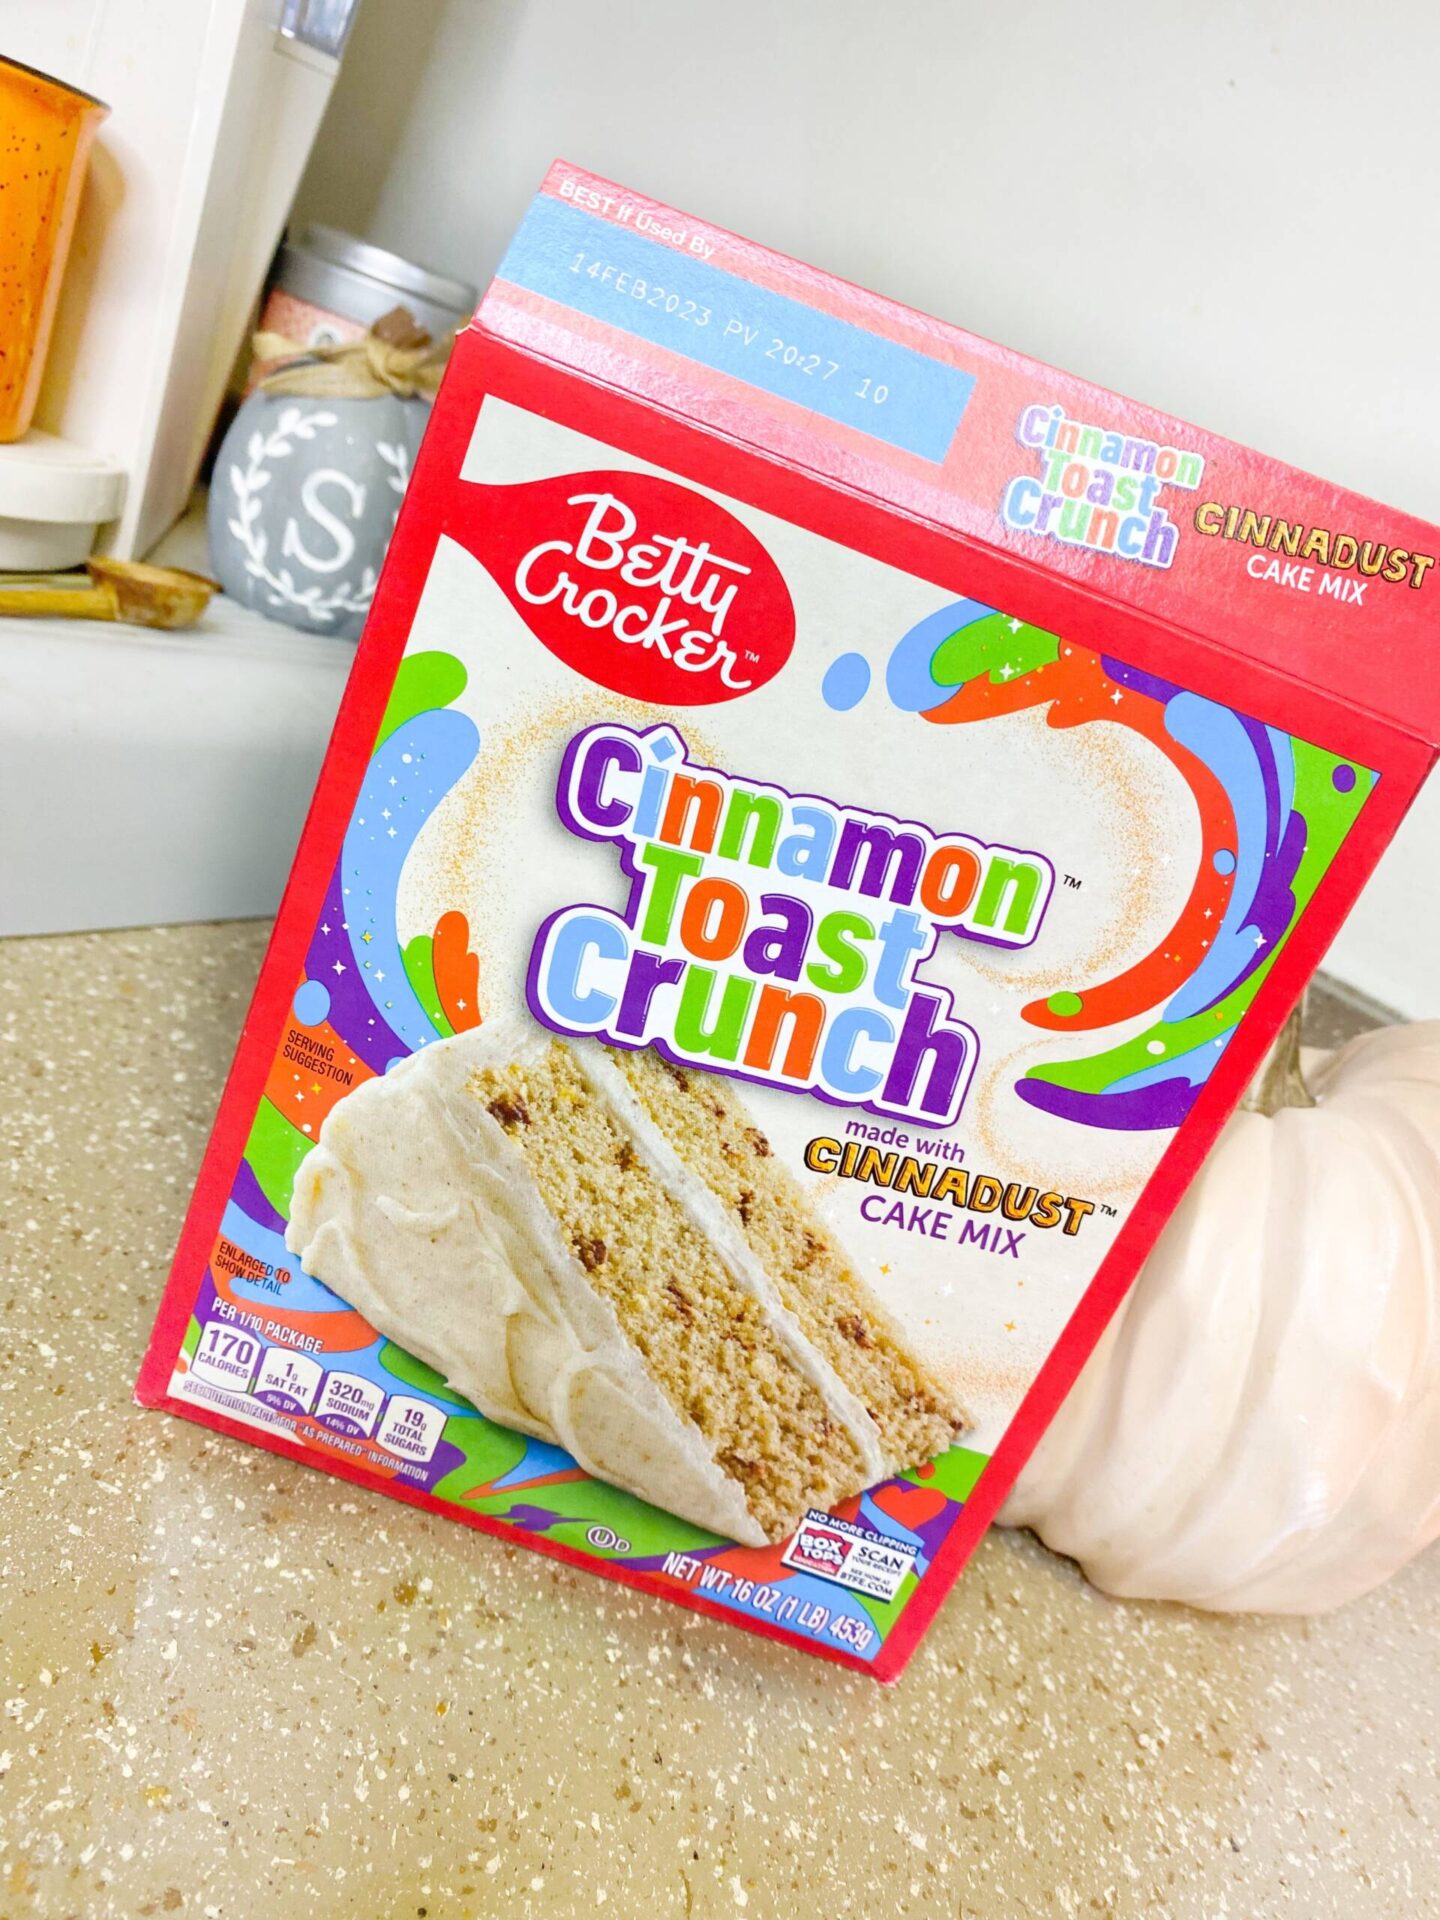
All you need Is a box of cake mix of your choice, I chose Cinnamon Toast Crunch cake because I felt like it was perfect for the fall season! You will also need any ingredients needed for your choice of mix. This one called for 3 eggs, vegetable oil and water.
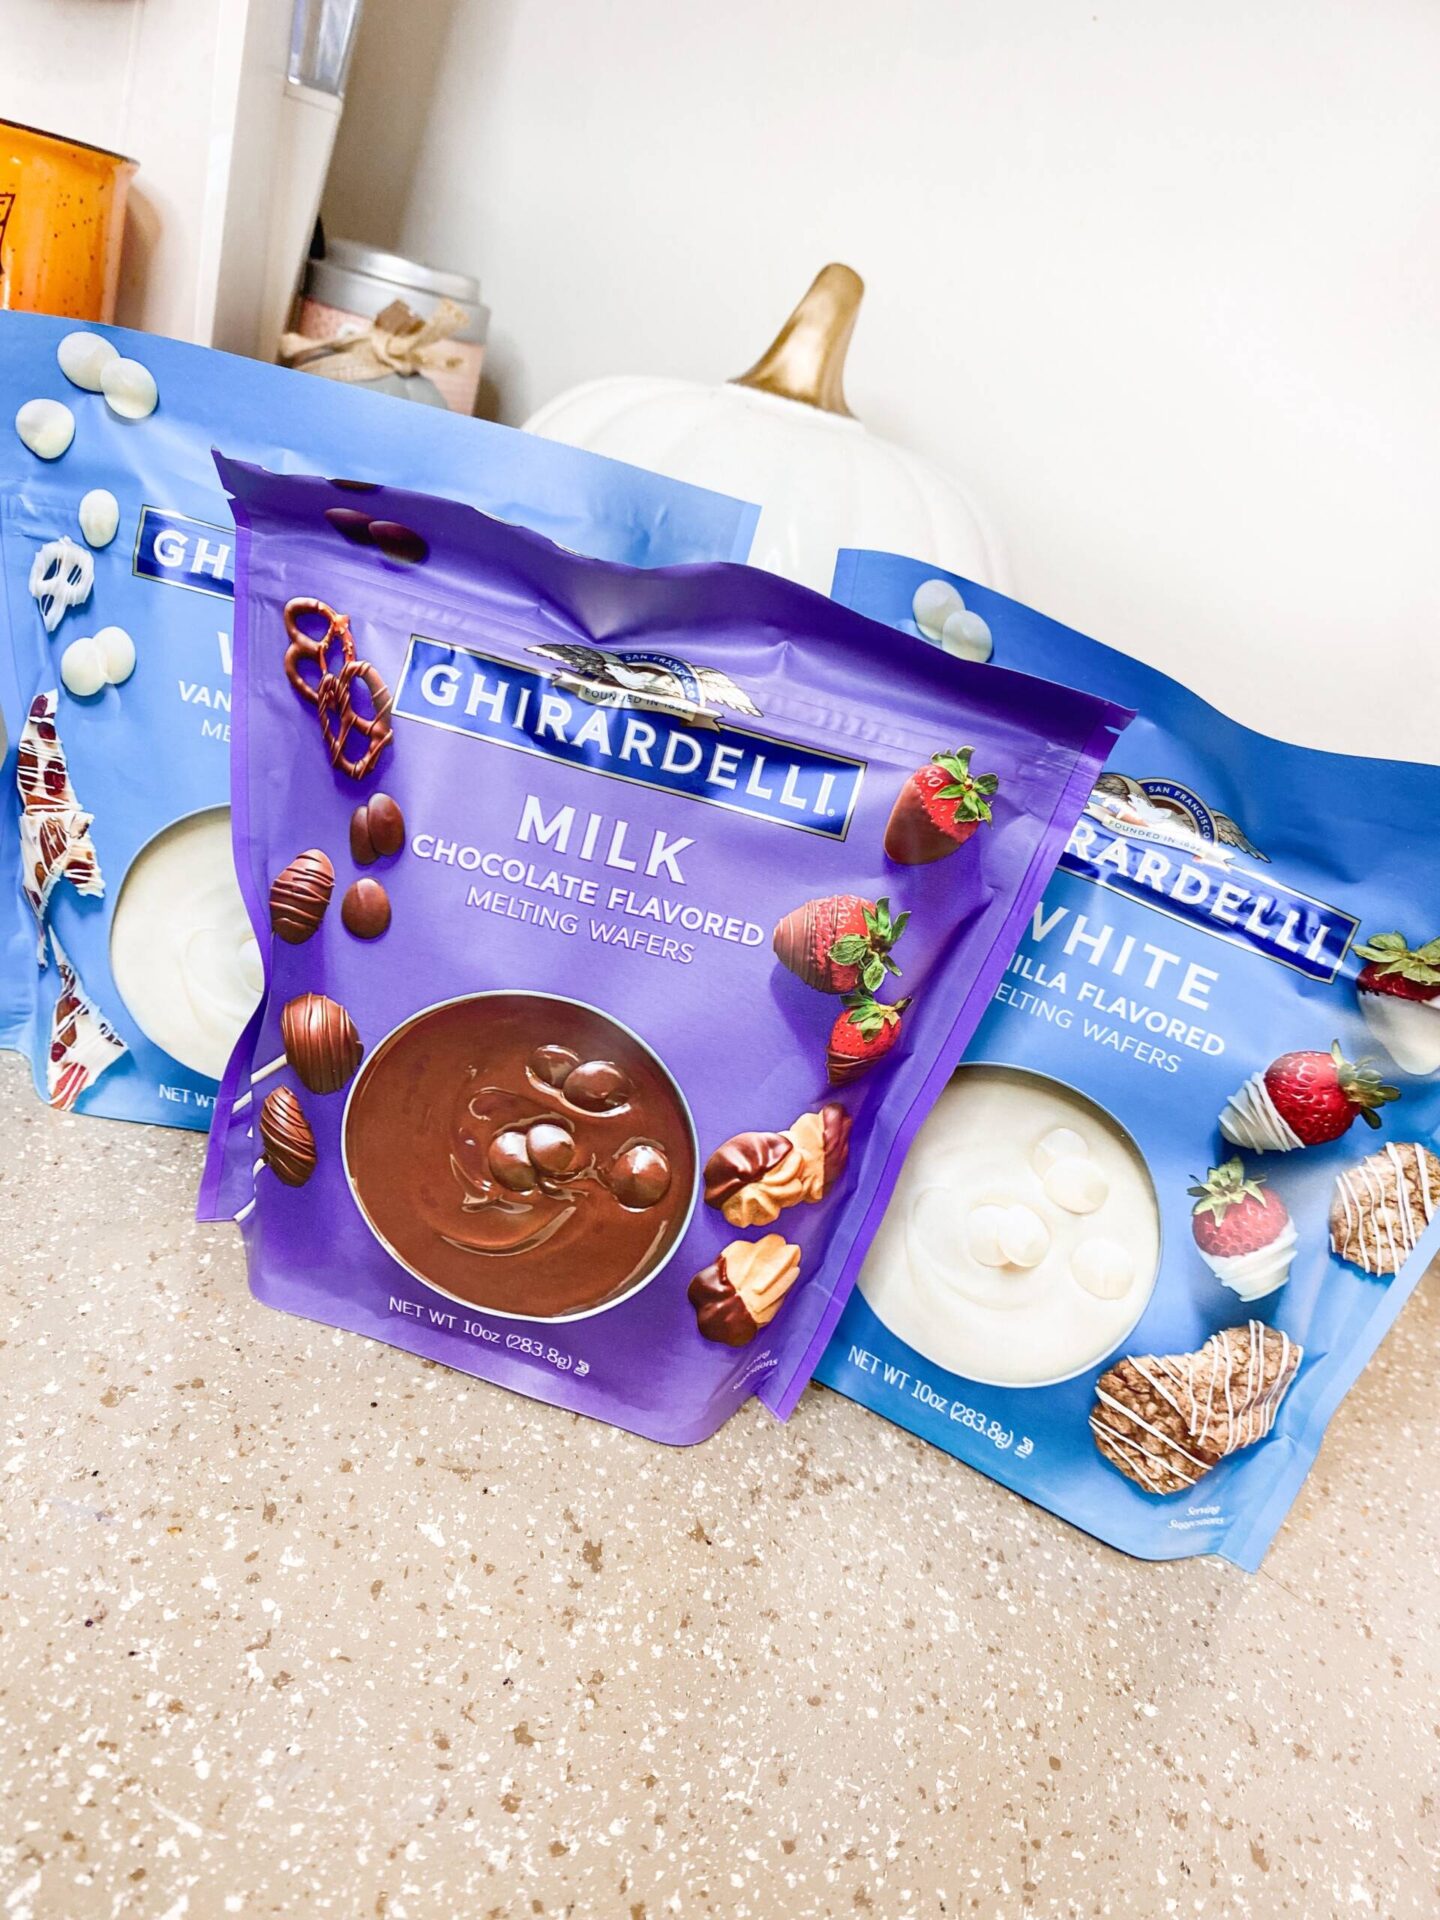
Next, you will need candy melts. It doesn’t matter the brand, just make sure you get the color you want for your cake pops. If you can’t find the color of candy melts you need, you can always get a box of food coloring and dye the chocolate like I did.
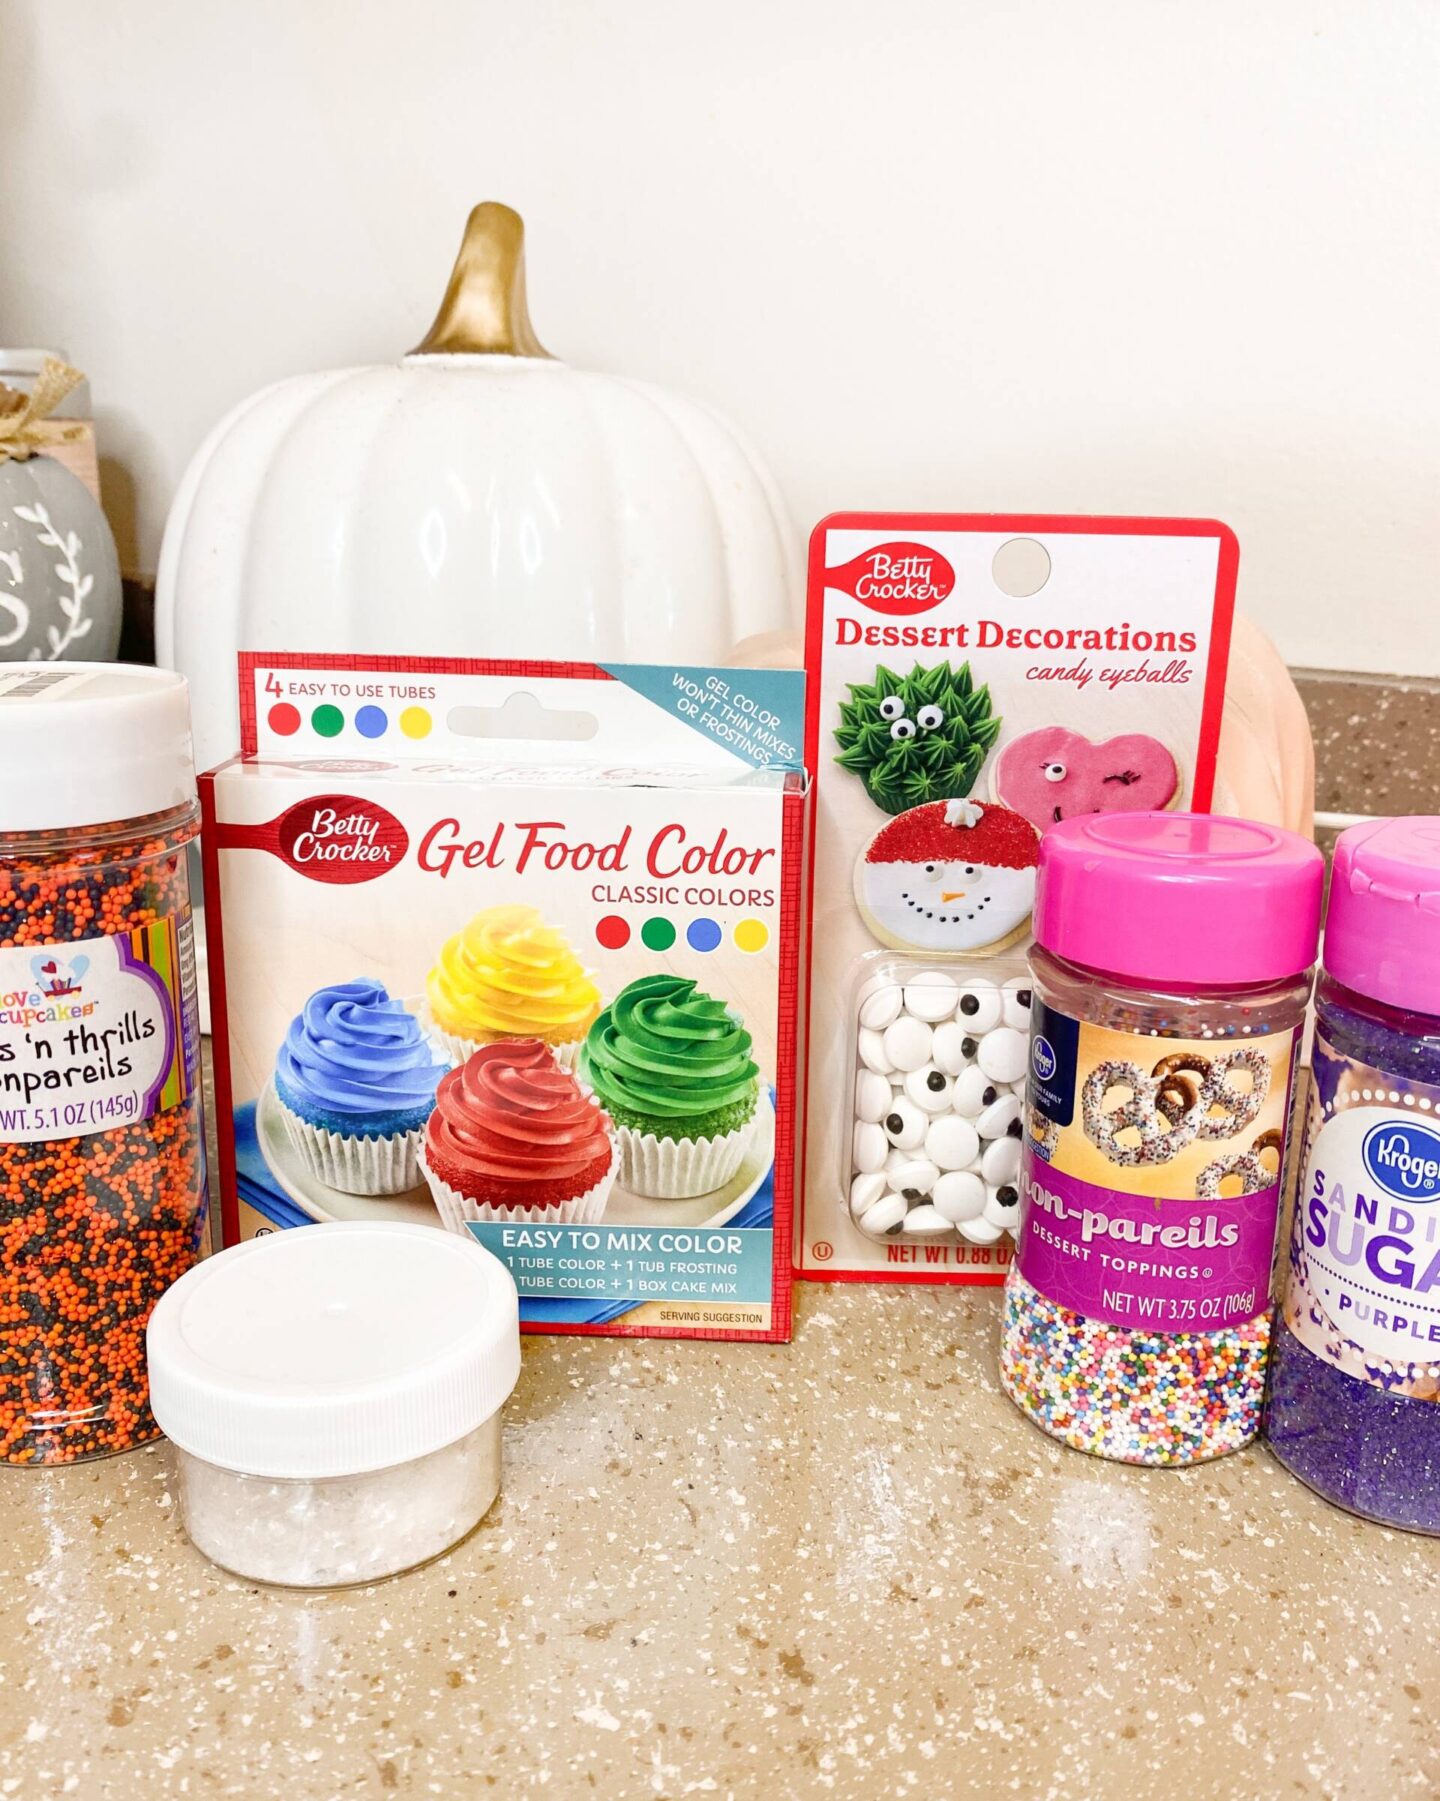
You will also need any sprinkles and decorative cake items of your choice as well as cake pop sticks. Unfortunately for me I couldn’t find these sticks so I had to resort to shish-kabob sticks. They did the job, but I wouldn’t recommend as they are much too thin to hold a normal size pop. I had to make mine a tad smaller for them to hold.
Instructions:
- First and foremost, bake your cake according to the instructions on the back of the box and let it cool completely. Once the cake is 100% cooled break up the cake into tiny pieces either by hand or with an electric mixer.
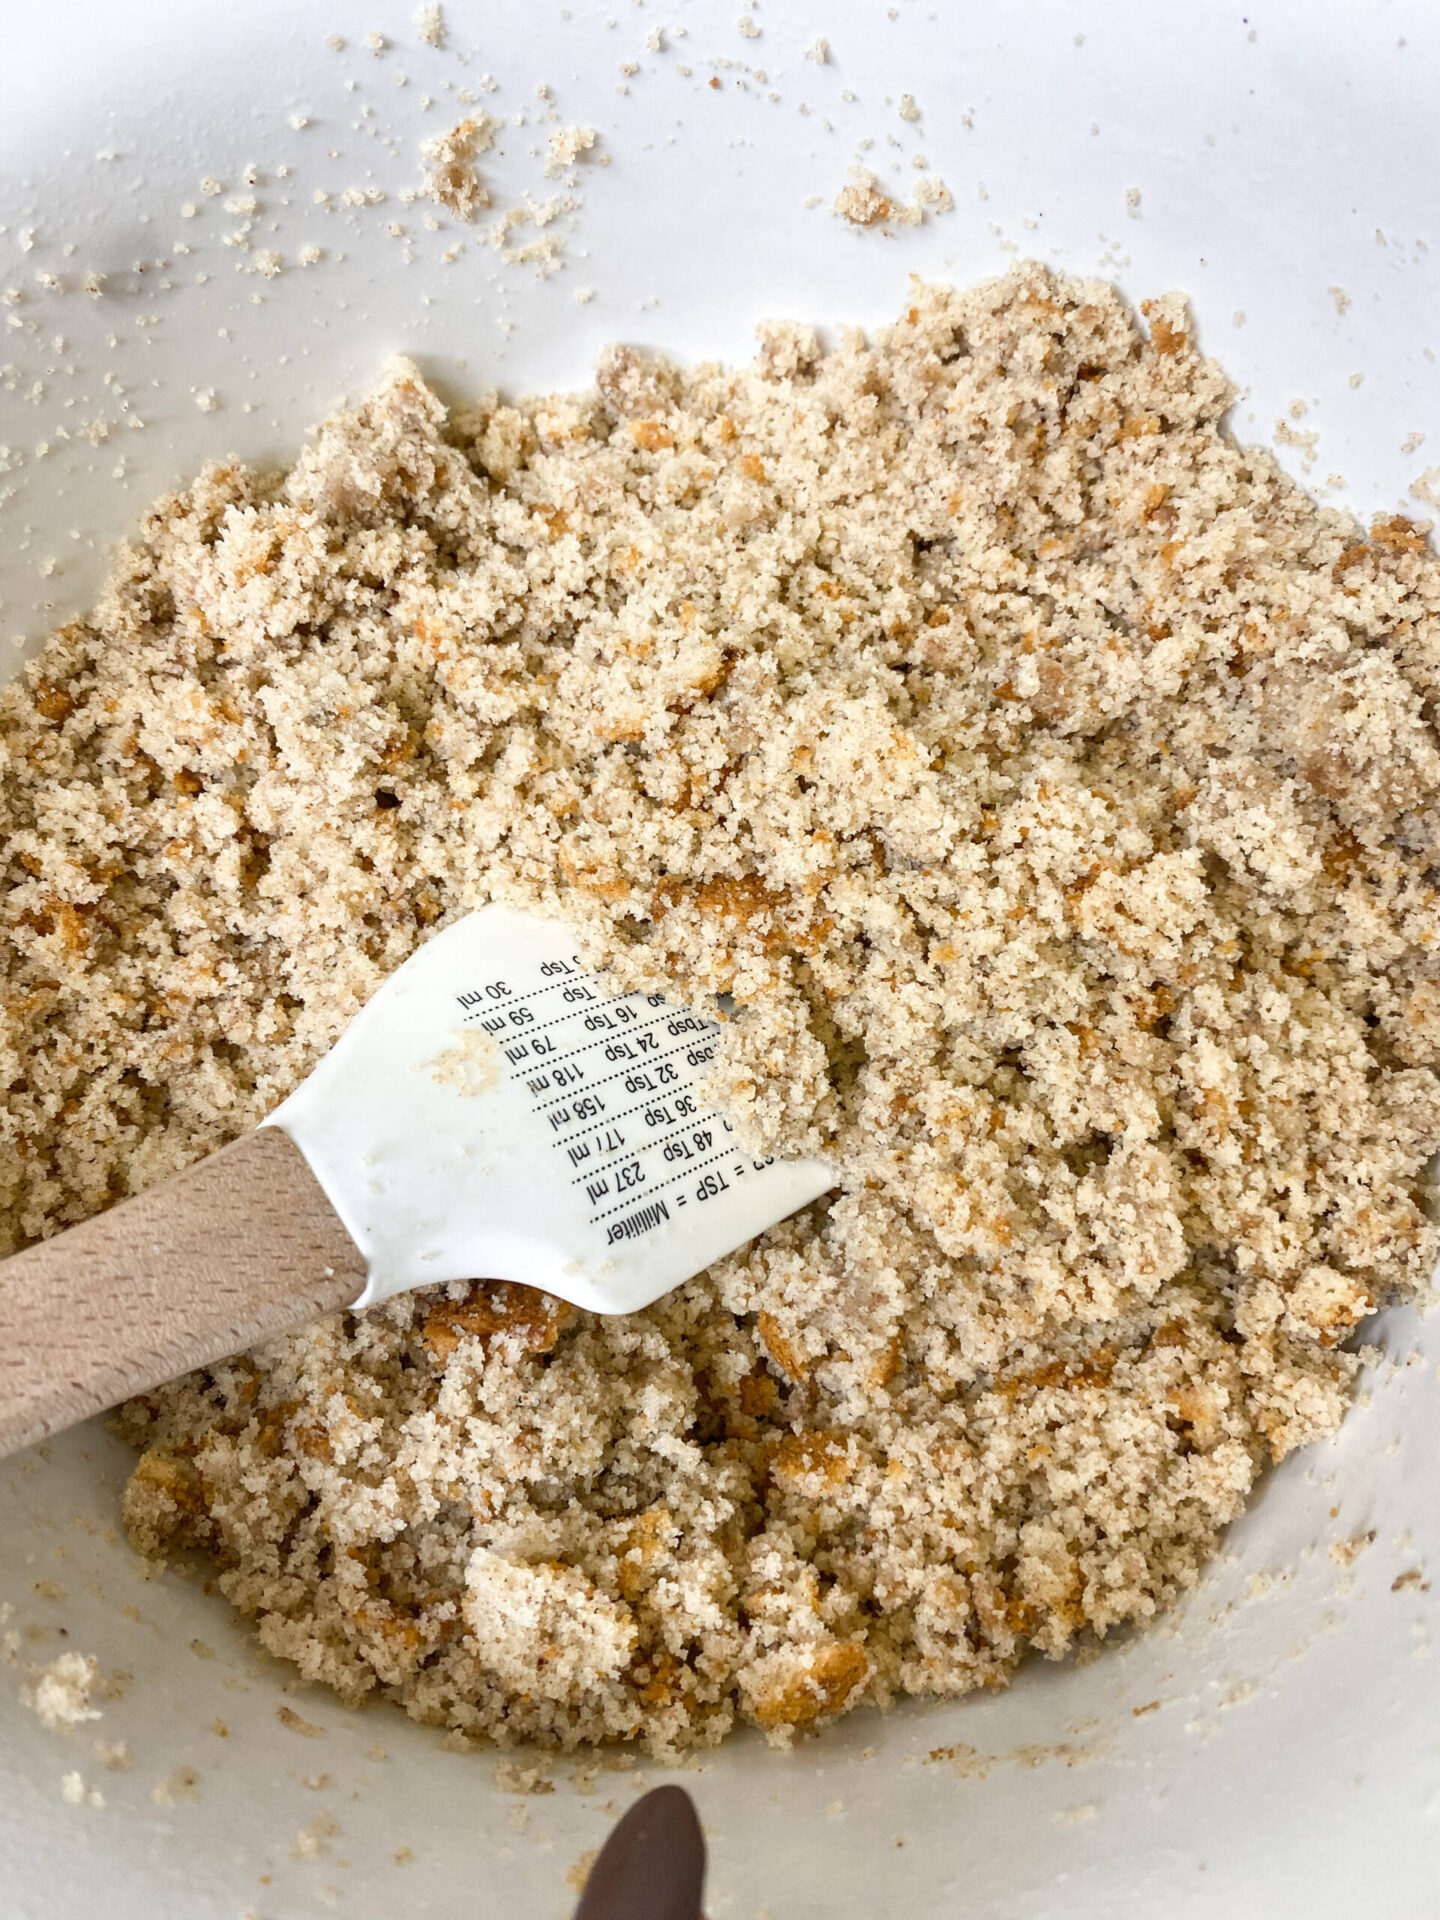
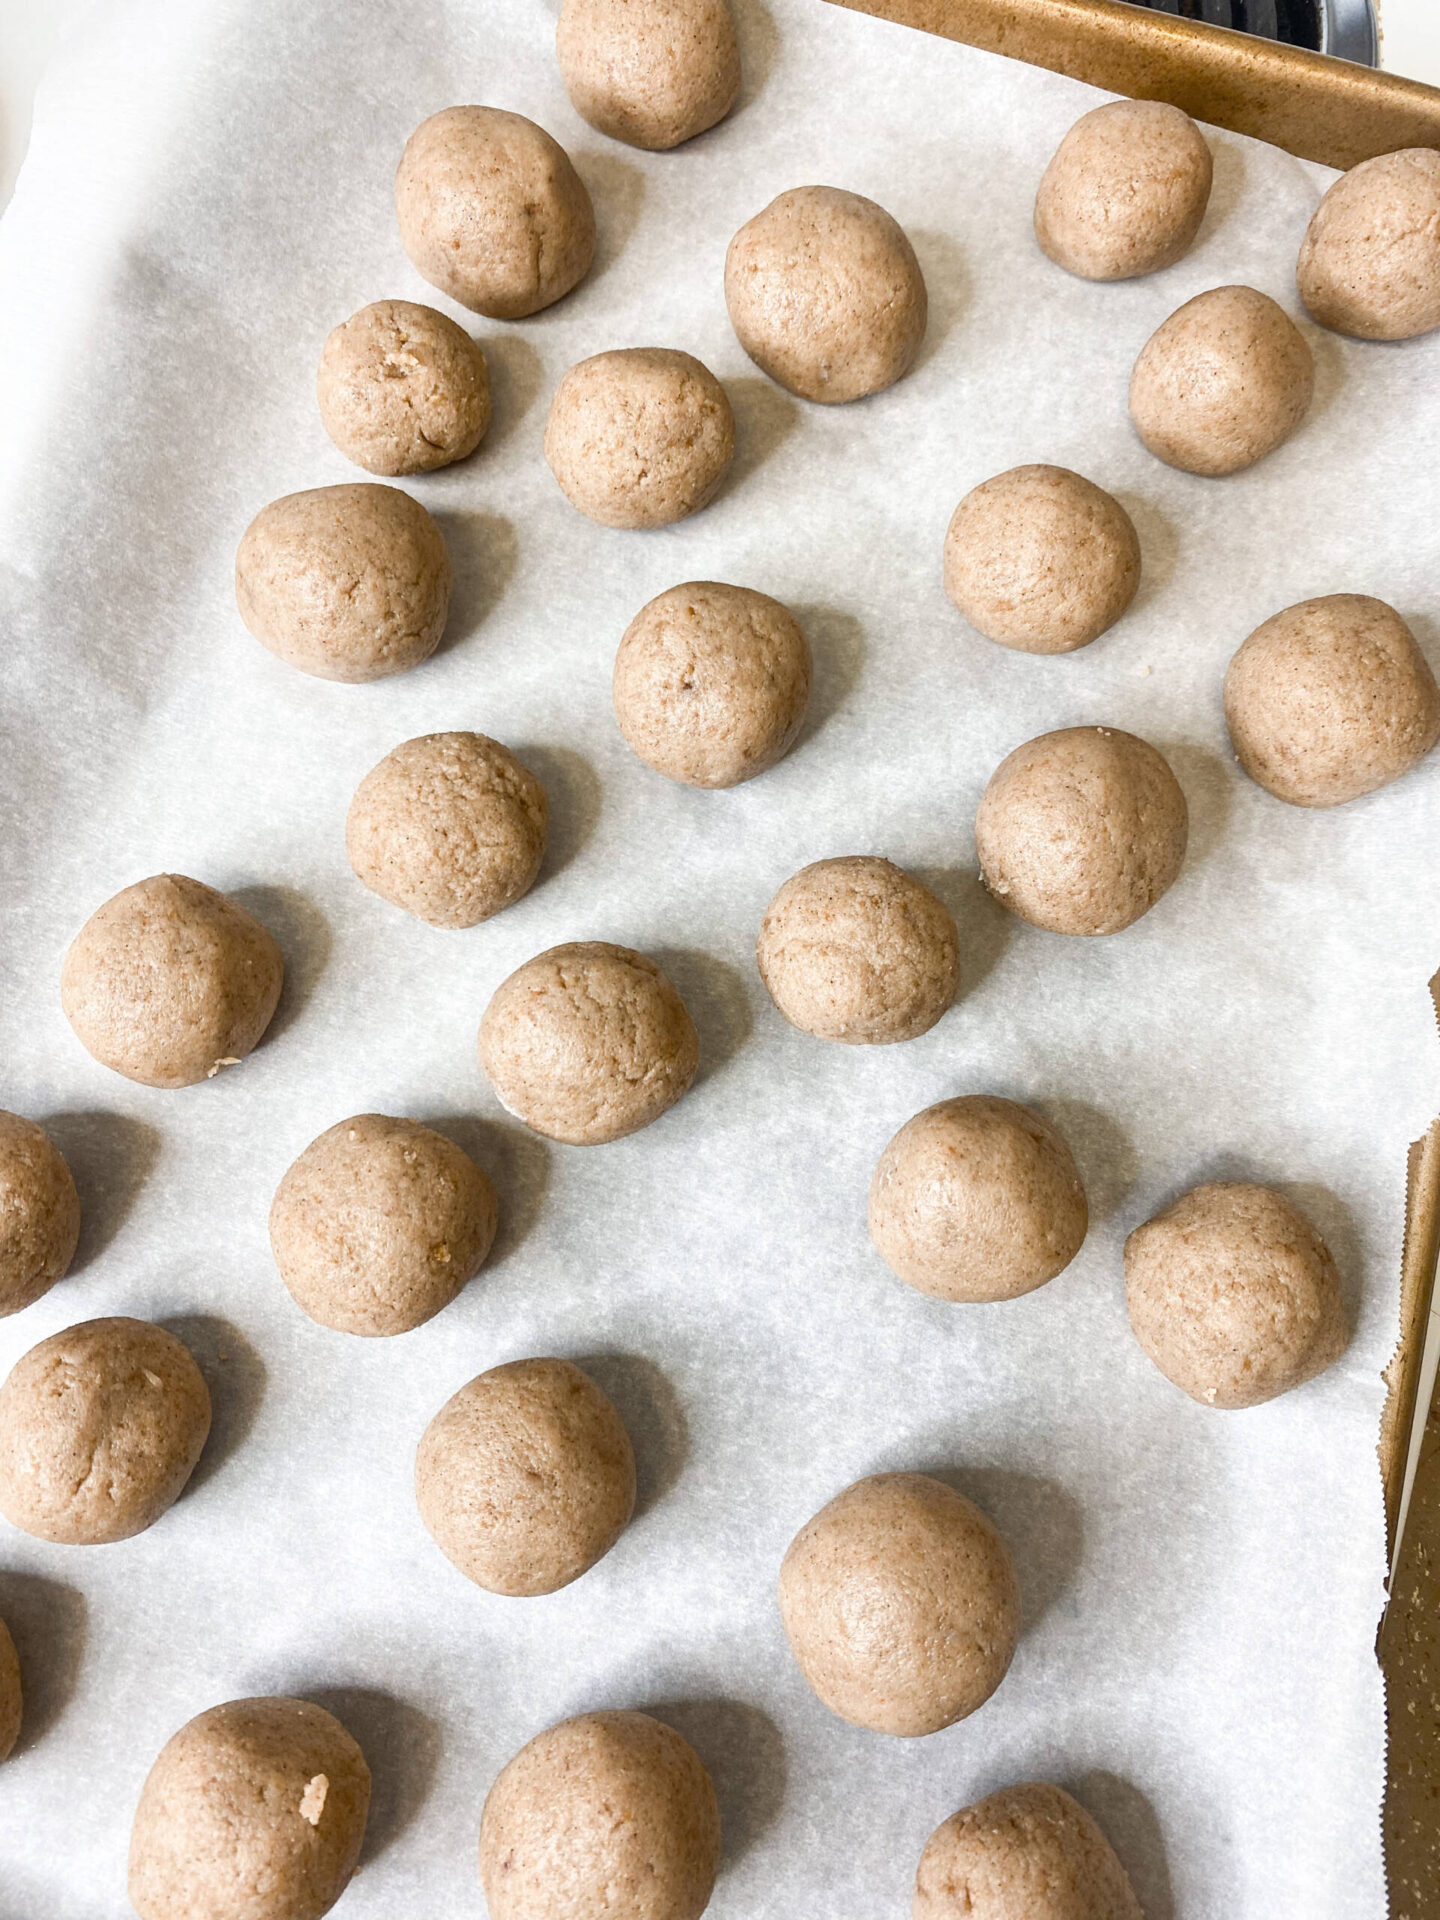
2. After you’ve broken up the cake, add in a few scoops of vanilla frosting and mix together. You want your consistency to be that of play-doh, so add as much frosting as you need to achieve this. Once you have the desired consistency, roll the mixture into balls and place them on a baking sheet lined with parchment paper. Then add to the freezer for about 35-30 minutes. You will be re-adding the pops to the freezer multiple times throughout this process, which is really the only reason cake pops take a while to make. They’re easy, but you just have to have patience.
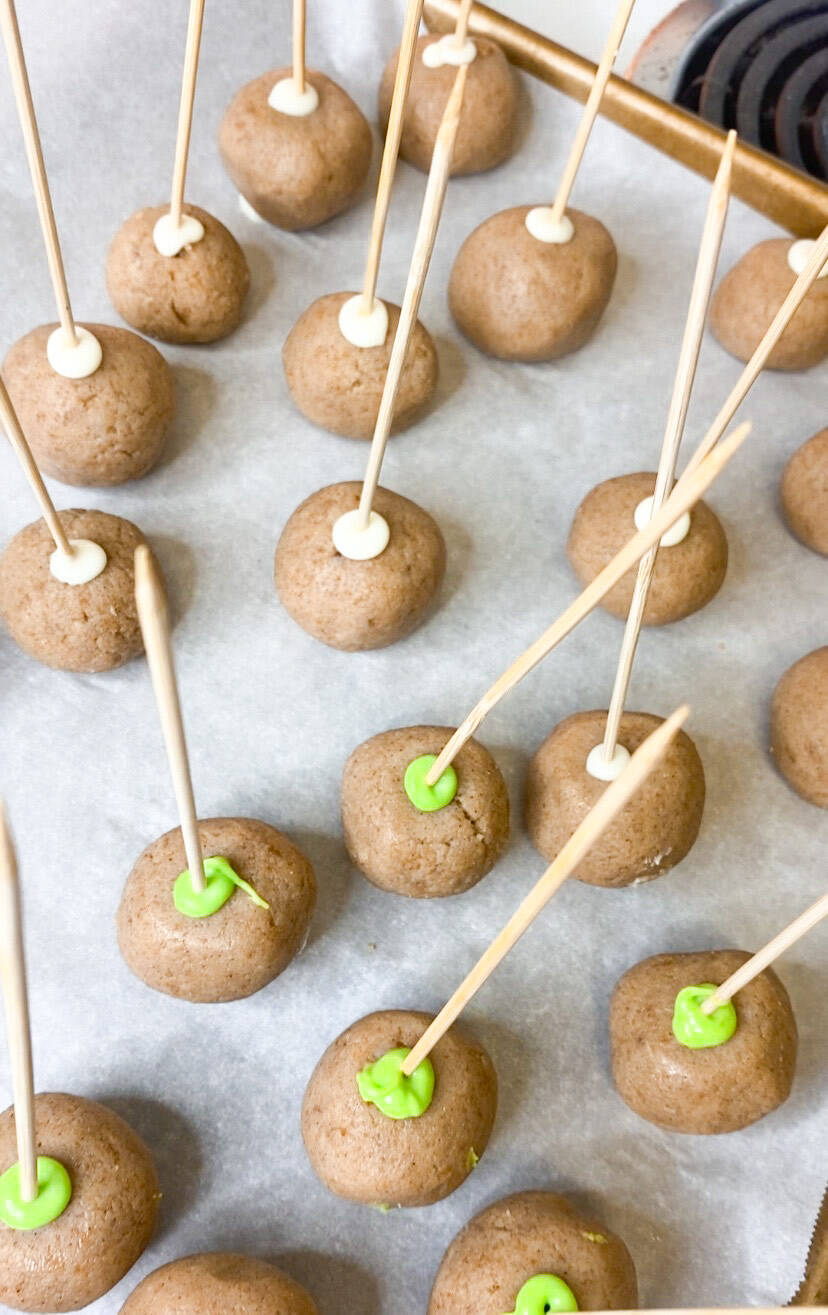
3. After you take the pops out of the freezer, melt your chocolate in increments of 30 seconds in the microwave. Depending on what colors you need, add your food coloring. I needed white, chocolate and a lime green to make the Carmel apple pops. To make the lime green I added 5 drops of yellow food coloring and 3 drops of green food coloring to the white chocolate. Once your chocolate is melted, dip the end of the stick into the chocolate and put it about 3/4 way through the cake ball and freeze again for about 40 minutes.
4. Once the cake pops are once again out of the freezer it’s time to decorate! Dip the pops into the chocolate and shake off the extra chocolate by holding it upside down. Then, add your sprinkles and decorative pieces however you want. I chose to make basic pops with halloween sprinkles, Mummy pops and caramel apple pops. For the mummy pops use white chocolate to dip. Every time you add another layer of chocolate such as the drizzled layer of white chocolate to create a mummy affect you will need to refreeze before adding more chocolate. The same goes for the Carmel apple pops. Once you dip the pop into the green chocolate, freeze again before dipping the top half into chocolate and adding the sprinkles. Tip: If you want your cake pops to be super round make sure you set the dipped pops onto a bit of melted chocolate on the parchment paper so that the pop sits on the chocolate instead of directly on the parchment paper. This will allow the pop to dry round and not flat on the top. This is probably the hardest part to perfect, which is why all of mine aren’t perfect. You can decorate them however you want. Have fun with it and enjoy! I have a tutorial with each step of this process on my Instagram as well! Go check it out @selahchristeen
